Connecting to Your Email Server with Thunderbird
Prerequisites
- Thunderbird installed on your computer
- A mailbox user created in the control panel
- Your server’s domain name (e.g.
mail.example.com)
Setup Steps
1. Open the Account Setup Wizard
In Thunderbird, go to File → New → Existing Mail Account (or click the menu icon → New Account → Email).
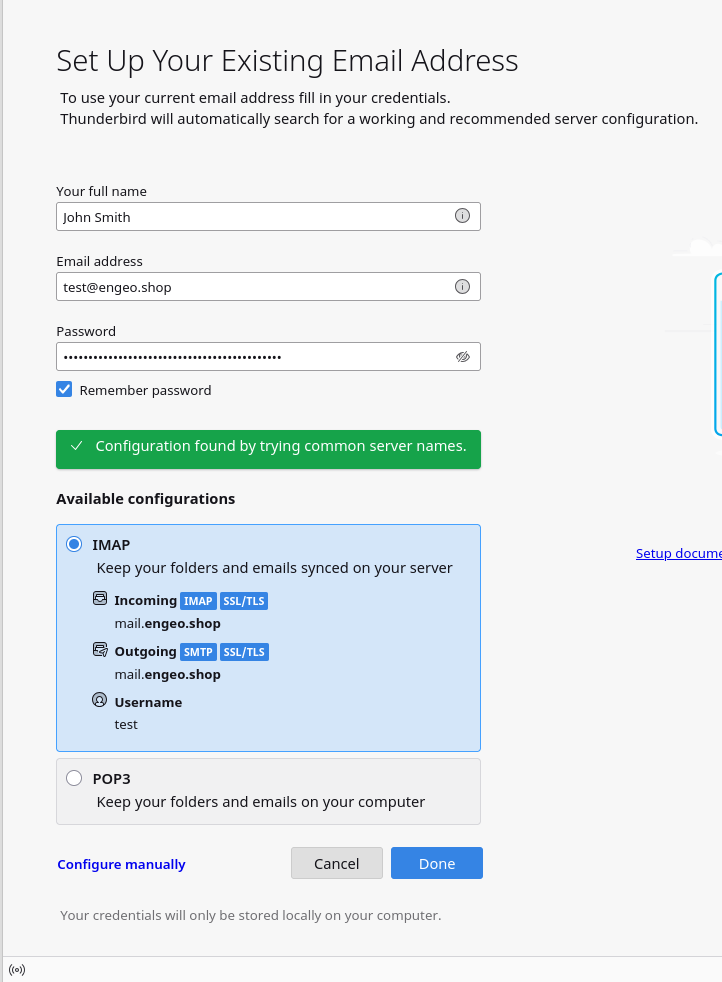
Screenshot: Thunderbird’s “Set Up Your Existing Email Address” dialog with fields for Your Name, Email Address, and Password.
2. Enter Your Details and Auto-Detect
Fill in your name, email address, and password, then click Continue. Thunderbird will auto-detect the server settings.
3. Verify the Detected Settings
Once auto-detection completes, confirm the settings match the following:
| Incoming (IMAP) | Outgoing (SMTP) | |
|---|---|---|
| Server | mail.example.com | mail.example.com |
| Port | 993 | 465 |
| Security | SSL/TLS | SSL/TLS |
| Username | you@example.com | you@example.com |
Important: The username must be your full email address. If Thunderbird filled in only the local part (e.g.
you), correct it manually.
Click Done to finish. Thunderbird will start syncing your mailbox.
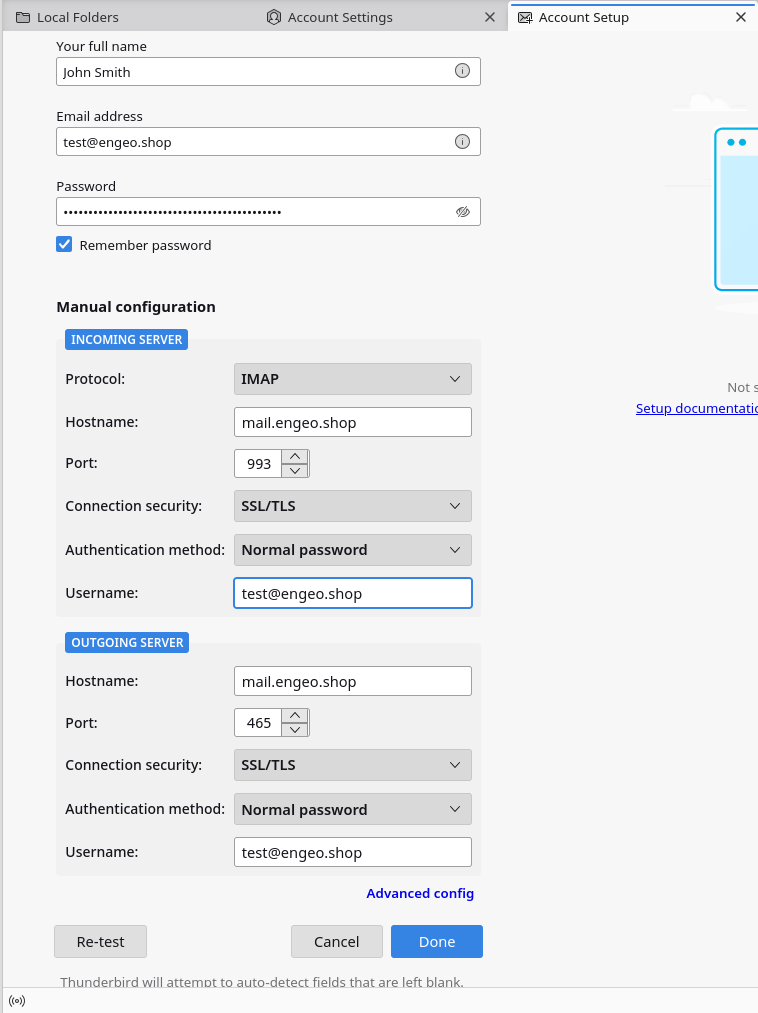
Screenshot: The confirmed settings screen showing incoming/outgoing server details before clicking Done.
Troubleshooting
Connection refused / timeout
- Confirm ports 993 and 587 are open in your server’s firewall.
- Run a healthcheck from the control panel to verify Dovecot and Postfix are running.
SSL certificate error
- Ensure a valid Let’s Encrypt certificate has been issued for your mail domain in the control panel (SSL section).
Authentication failed
- Double-check the username is the full email address, not just the local part.
- Reset the mailbox password from the control panel (Users section).